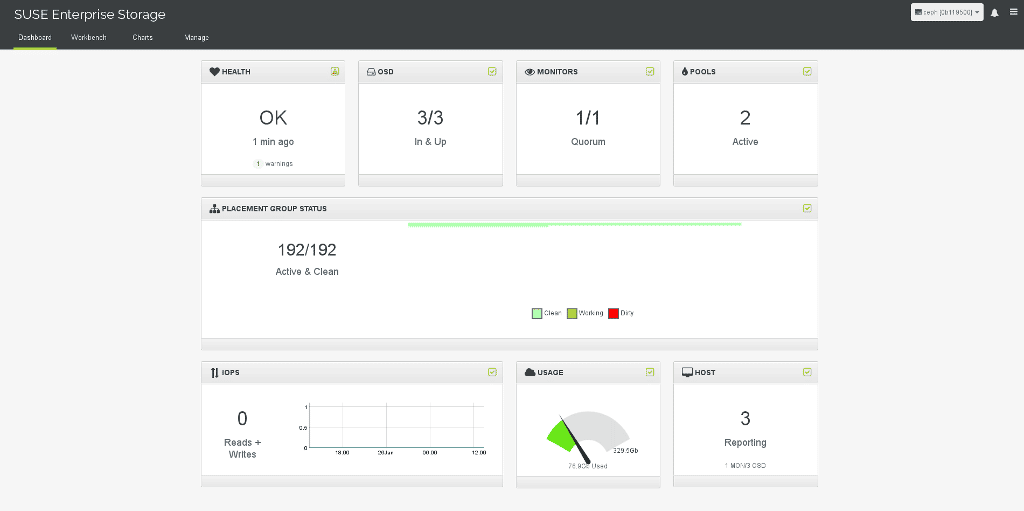
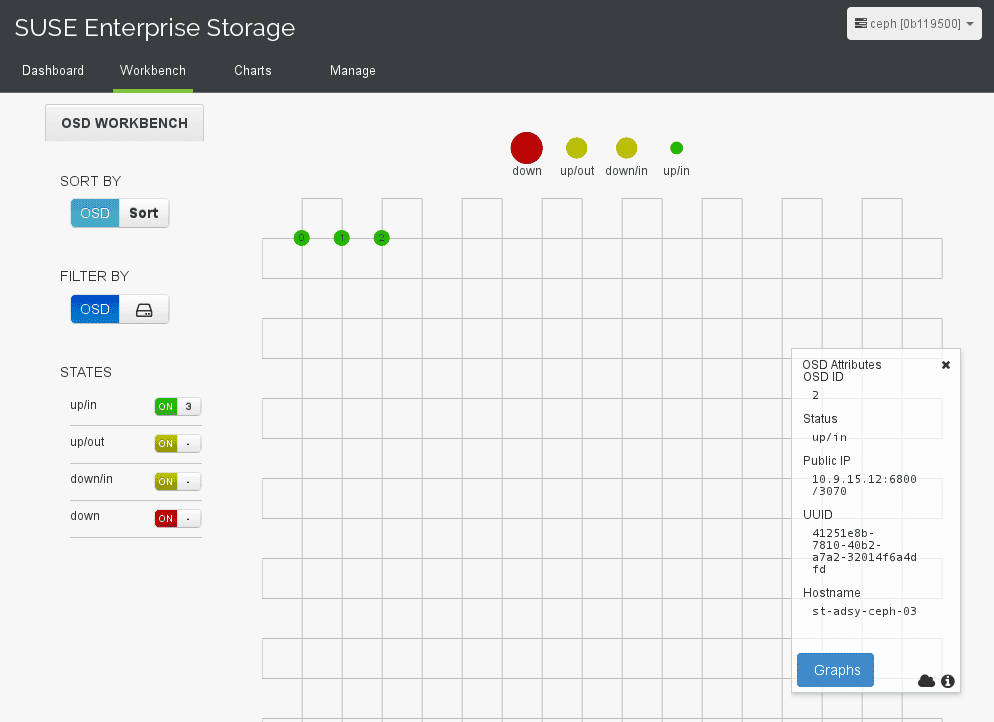
SUSE Enterprise Storage 2 – CephCalamari hands on
Ceph is on everyone’s lips and, at the latest since Red Hat has acquired Inktank, the software defined storage solution has arrived in the enterprise segment.
Ceph promises nothing less than to turn the storage market on its head, which is dominated by large players such as NetApp, EMC and others.
SUSE is also entering a Ceph distribution for the enterprise market into the race with SUSE Enterprise Storage – we have taken a detailed look at version 2.0 and are briefly summarizing the most important installation steps in this post.
Notes: The following installation is not a “best practice” scenario, but covers the steps to test the solution in a lab environment.
Preface
The environment in which our test installation takes place consists of three physical servers, which are called node1, node2, and node3. All three devices are used as OSD, and node1 will also host the MON and Calamari. In a production environment, the different roles (OSD/MON) would have to be operated separately and there would have to be a minimum of three MONs.
SUSE Enterprise Storage is available as an add-on package for SLES 12. To install it, this add-on package is added during the installation of the base operating system or at a later date in the YAST2. After the packages have been installed, setup can begin.
Preconditions
First, it must be ensured that the nodes can resolve each other’s DNS names. This was ensured through a corresponding configuration of the /etc/hosts file. As well as that, a user for Ceph must be set up on each system. For this test, it is ceph. In addition, the monitor node (1) must have permission to execute commands without a password and with respective full sudo rights without password on the other nodes (2 + 3).
Calamari configuration
Then we configure Calamari, the web GUI for the administration and monitoring of the Ceph cluster, as root. For this, an administrative user (in this example, “root”) and his password is set. calamari-ctl then configures postgresql and apache2 and starts these services. With the standard installation, the web GUI can be accessed directly under the server IP on port 80.
calamari-ctl initializeAttention: All ceph-deploy commands are executed as user ceph on node1!
All nodes are now connected to our Calamari server:
ceph-deploy calamari --master node1 connect node1 node2 node3
Ceph basic configuration
The next step is the configuration of the Ceph cluster with the “ceph-deploy” tool, which can be installed in most distributions using the in-house package administration. If the package is not available, it is also easily possible to install “ceph-deploy” via Python pip from the sources using git clone https://github.com/ceph/ceph-deploy.git.
Then, the Ceph cluster is created:
ceph-deploy new node1Ceph is then installed on all nodes:
ceph-deploy install node1 node2 node3Finally, the first monitor is created:
ceph-deploy mon create-initialThe Ceph cluster is now ready for storage to be added.
Ceph storage configuration
In this test environment, the partition /dev/sda3 is provided on every node for the storage of Ceph data. But this can also be entire discs (several) per system.
First, the partitions are prepared:
ceph-deploy osd prepare node1:/dev/sda3 node2:/dev/sda3 node3:/dev/sda3Then, the OSDs can be activated:
ceph-deploy osd activate node1:/dev/sda3 node2:/dev/sda3 node3:/dev/sda3Et voilà, a fully configured Ceph cluster with Calamari web interface has been configured. 🙂

Help
If the installation of the Ceph cluster is to be restarted, the existing setup can be reset with the following commands:
ceph-deploy purge node1 node2 node3
ceph-deploy purgedata node1 node2 node3
ceph-deploy forgetkeys
When OSD prepare fails, try run ceph-deploy disk zap, it will clear the partition table on your disk:
ceph-deploy disk zap nodeX:sda3To perform the same for Calamari, the following command must be run:
calamari-ctl clear --yes-i-am-sureThe password for the Calamari user can be reset as follows:
calamari-ctl change_password --password {password} {user-name}Further information
From this point forward, nothing stands in the way of the configuration of the cluster for other services. The internal Ceph services are:
On this topic, SUSE Enterprise Storage provides the new iSCSI plugin, for example, which allows many other services to benefit from a Ceph connection!
The setup selected here is the minimum installation. To ensure reliability and increased performance, one should follow the Ceph instructions.
Interesting and helpful links for SUSE Enterprise Storage and Ceph:
Conclusion
The installation of a Ceph cluster with SUSE Enterprise Storage is relatively easy. The web front end, as well as the iSCSI interface are interesting additions to Ceph, which we will cover in more detail in future posts.
Compared with a Debian-based installation, which only really worked when ceph-deploy was configured manually, the SUSE solution is much more user friendly.
Outlook
In further tests, we have investigated the performance as well as the iSCSI/libvirt connection of Ceph. We will publish further details about this in this blog shortly.

